

|
The “Perfect Grade Millennium Falcon” is the reason I started building models 2 years ago, and the Falcon build is about a year of that stretch. My nights of modeling began the moment I saw an ad for the PG Falcon in Forbes magazine. After researching it, I knew I would need some practice before attempting this beast, and that turned out to be 100% true!
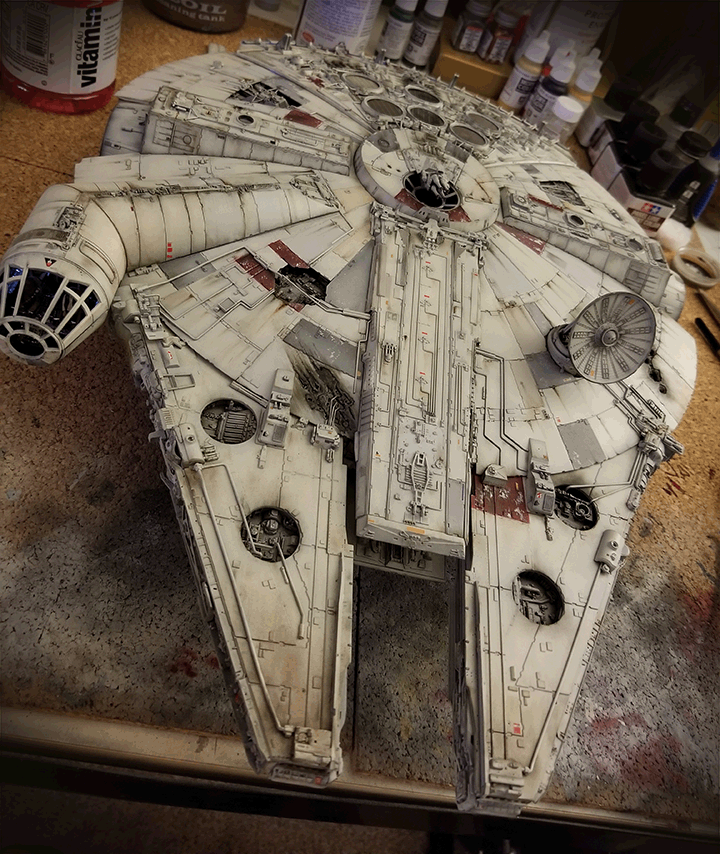
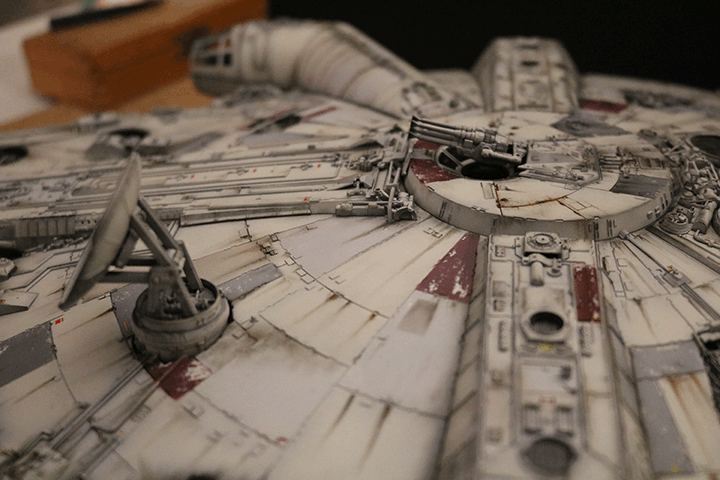
This model is a playground for model makers. Seriously, it has so much to offer for someone learning like me. There is rusting, fading, layering, burn marks, blaster marks, carbon scoring scuffing, paint chipping, oil dripping, and every other type of weathering you can imagine. And the level of detail…mind-blowing! At some point during the assembly you WILL question your sanity.
Aside from, “Am I crazy???” I still remember the big questions when starting, so I will try to address those in case you feel inspired:
-Decals vs Airbrushing the colored panels… I airbrushed all the colored panels except for an obscure one (a test to see how it compares to using the decals). I still think airbrushing the panels is the best way to go. Not all the decals are color-accurate and you can shade and weather the panels better if airbrushed. Grab a roll of scotch tape and go for it.
-Do I need to do the whole Pre-Shading thing… For this model, YES. I love to artificially create shadows on my models using the trick of blackening all the cracks in the beginning. I make sure the angle of the airbrush hits vertical surfaces and edges and then spray the light, top layer at an angle perpendicular to that to leave the vertical surfaces and edges darker than the surfaces that pop out at you. A good example of using this technique is seen in the circle cut-outs in the mandibles. But even on tiny edged surfaces, it’s a slightly different result than what the panel accent liners give you.
-Cockpit Decals… I probably put too much effort and thought into the cockpit decals since you can barely see anything past the first row of seats. I sanded the details down so I could get the decals on. Don’t do that. Just dry brush the surface details and use the pre-shading artificial shadow trick.
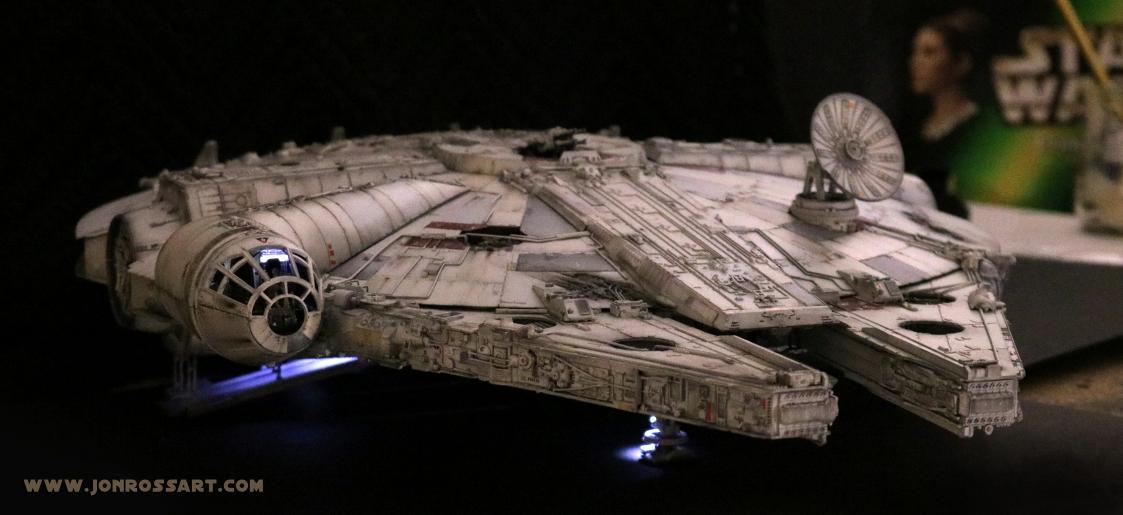
-When trying something new, test it on the bottom half first... I started the weathering process on the bottom half and by the time I got to the top half, I had my methods perfected. If you’re like me, (I prefer displaying it in landing position) you can’t really see the bottom half of it anyway. –Although, I have a glass display case with a mirror-roof so I can see the top and the bottom at the same time. Worth it.
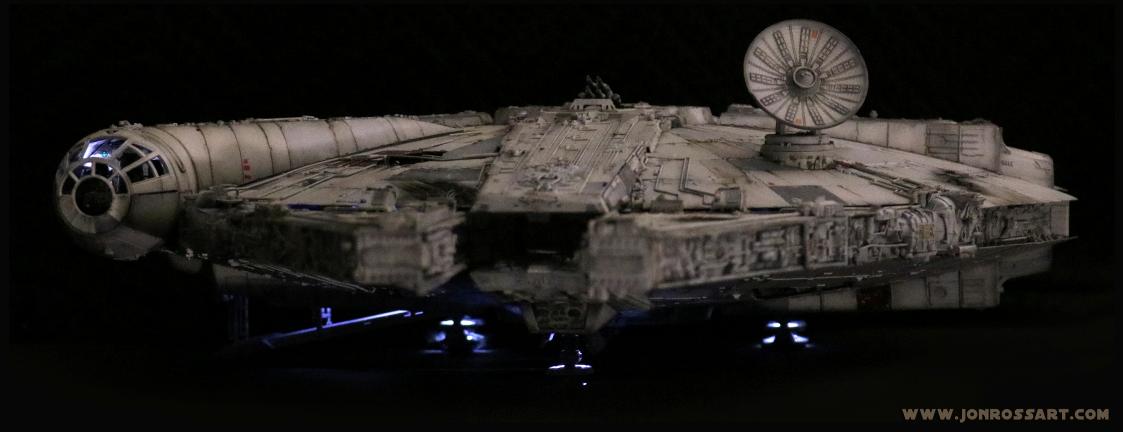
To sum it up, this thing feels like the Everest of models. It is so crazy-detailed that when it all comes together, you can’t help but fall in love with it, and the view never gets old. |